Showing posts with label Recipes. Show all posts

Friday, February 3, 2012

Unicorn Poop

Frühlingskabine Micro-Farm just acquired a unicorn. This unicorn poop manure should magically fix all of our garden soil woes. After all-- what are unicorns for but to repair depleted soil?

Just kidding.... It was my mom's birthday and I found this weird idea for cookies on Pinterest. They are just a batch of sugar cookies that divided into five, colored with regular ol' food coloring, and rolled together into poop piles. Real attractive sounding huh!?

Yeah. Those are real sparkles and silver shine stuff for cakes. Didn't you know unicorn poop is sparkly? Silly you.

Aren't you glad you read this ridiculous post?

Saturday, January 21, 2012

Magical Bread :: Rolls

Find my original "Magical Bread" recipe and post here!

So... I did try to modify my Magical Bread recipe from loaves to rolls. And guess what? I was successful!

I made the recipe as normal (doubled for two loaves) and then split each loaf worth of bread dough into six. In total, two loaves worth made twelve rolls. Then I let them rise for the second time.

I could only fit four rolls in my 5-quart Dutch oven at a time. Now, to Trevor's dismay, I think I need another Dutch oven to make twice as much magic in a shorter amount of time.

Bake covered at 475 degrees for only 25 minutes. To give your rolls a crispy shell, uncover and bake an additional 3-5 minutes.

Go ahead and give your bread a try as rolls. We used our fresh baked rolls along with soup last night and as egg salad sandwich rolls this afternoon. Delicious!

Sunday, January 1, 2012

Magical Bread :: Update

If you haven't seen my post on "magical bread" and the recipe... look here. You'll want to try it for yourself.

In this house, we eat quite a bit of bread and more so since I started baking fresh bread using this recipe. I don't think I can emphasize enough how much I hate baking/cooking/building things that are not quick and easy. This bread overall is not quick, but it is easy. The three steps take only a few minutes each over the course of about 10-14 hours. I know that may sound like a long time, but if you simply take two minutes to mix your dough before bed, by the time you wake up... the wait is over!

This by far the best bread recipe I have ever tried and better yet-- it only requires flour, yeast, water, and salt! When people eat your home baked bread they will think you are a miracle worker. It's that good.

Here's what I've discovered:
If it's super cold at night when your bread should be rising (like it is here), just let it rise in the oven with the oven light on. Alternatively, you could put it near the fire to keep warm.

If it's cold and isn't rising well the second time, increase the yeast to 1 teaspoon per loaf. You probably won't have any rising problems when spring comes.

It is easier to bake a double batch (two loaves) every 2-3 days than just one loaf every day. They keep fresh just fine in a large ziplock bag and I've needed that extra loaf to take to dinner parties for the host. It makes the perfect dinner gift. You will hear no complaints about this bread at the table!

One 5-pound bag of flour easily makes four to five loaves of bread. I always buy two 5-pound bags at a time so that I get an even ten loaves. It just seems to work that way for me.

Lastly, the more you fold your dough before the second rising, the more air pockets you will have. If you don't fold it you will end up with a denser bread much like potato bread.

Saturday, November 5, 2011

Magical Bread

Let me start off by saying that I am by no means a patient person. At all. Not even a little. Usually when I bake things I don't wait for dough to set in the refrigerator, or dough to properly rise, or even follow the lengthy directions to the letter.

With that said, this is the awesomest bread recipe ever. It was easy and it makes me look like a baking genius. The loaves I made today were beautiful! Gorgeous! And again, they make me look like a genius. Just try it... the only odd thing this recipe needs is a Dutch oven. An if you're any real camper or homesteader you'll have one. The directions say a 6-8 quart, but I used a 5 quart just fine.

Happy Weekend!


No-Knead Dutch Oven Bread
recipe from Mother Earth News

1/4 tsp active dry yeast
1 1/2 cups warm water
3 cups all-purpose flour, plus more for dusting. You may use white, whole wheat or a combination of the two.
1 1/2 tsp salt
Cornmeal or wheat bran for dusting

In a large bowl, dissolve yeast in water. Add the flour and salt, stirring until blended. The dough will be shaggy and sticky. Cover bowl with plastic wrap. Let the dough rest at least 8 hours, preferably 12 to 18, at warm room temperature, about 70 degrees.
The dough is ready when its surface is dotted with bubbles. Lightly flour a work surface and place dough on it. Sprinkle it with a little more flour and fold it over on itself once or twice. Cover loosely with plastic wrap and let it rest for about 15 minutes.
Using just enough flour to keep the dough from sticking to the work surface or to your fingers, gently shape it into a ball. Generously coat a clean dish towel with flour, wheat bran or cornmeal. Put the seam side of the dough down on the towel and dust with more flour, bran or cornmeal. Cover with another towel and let rise for about 1 to 2 hours. When it’s ready, the dough will have doubled in size and will not readily spring back when poked with a finger.
At least 20 minutes before the dough is ready, heat oven to 475 degrees. Put a 6- to 8-quart heavy covered pot (cast iron, enamel, Pyrex or ceramic) in the oven as it heats. When the dough is ready, carefully remove the pot from the oven and lift off the lid. Slide your hand under the towel and turn the dough over into the pot, seam side up. The dough will lose its shape a bit in the process, but that’s OK. Give the pan a firm shake or two to help distribute the dough evenly, but don’t worry if it’s not perfect; it will straighten out as it bakes.
Cover and bake for 30 minutes. Remove the lid and bake another 15 to 20 minutes, until the loaf is beautifully browned. Remove the bread from the Dutch oven and let it cool on a rack for at least 1 hour before slicing.

- Sarah

Saturday, September 3, 2011

Kale Chips

Kale Chips :: recipe

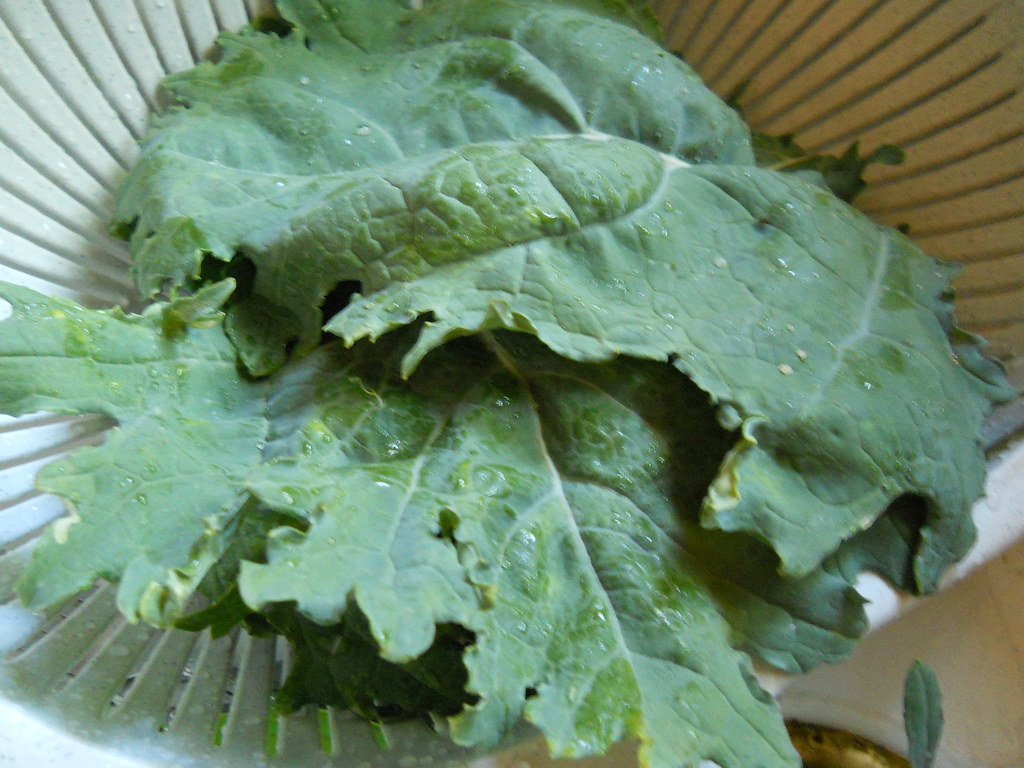
First grow a giant kale plant. Done. Then snip off the best looking leaves. After the kale is cooked it shrinks a little, so keep that in mind when deciding how much to harvest. Rinse!


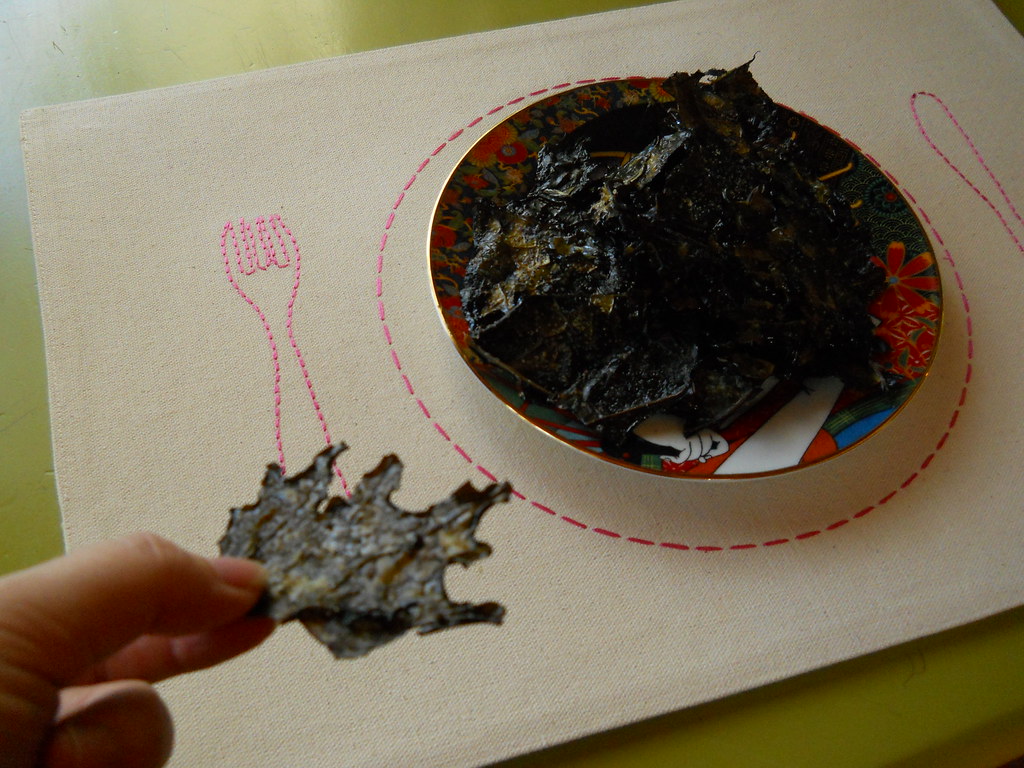
Lay the leaves flat and in one layer on a baking sheet. Brush the leaves with oil and lightly sprinkle with salt and pepper. Bake at 400 degrees Fahrenheit for 10 minutes or until crispy. Ten minutes usually does it.


See? Crispy, light, healthy kale chips!


- Sarah

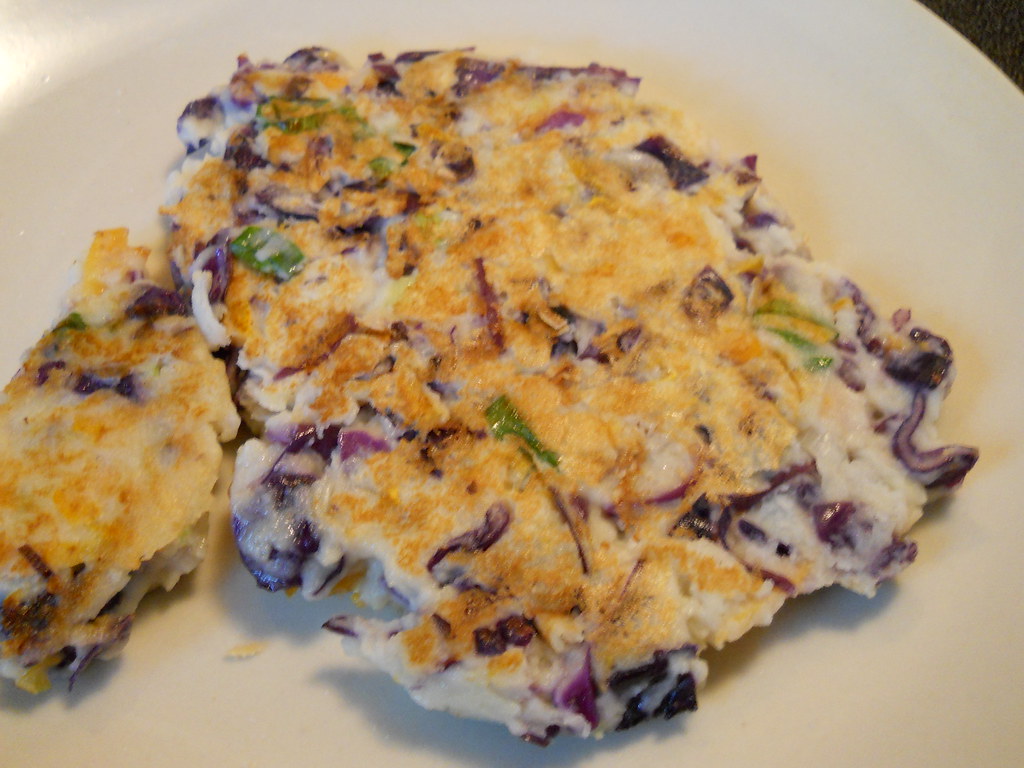
Okonomiyaki... Frühlingskabine Style!

This recipe was taught to me by Katie, a Japanese exchange student I was friends with in high school. This particular batch was made using only Frühlingskabine veggies. So here's to you Katie!

Okonomiyaki :: recipe feeds an army

Shred and mix together 1/2 a head of cabbage, 3 carrots, and 1 large bunch of green onion.
Peel and dice 3 large potatoes. Boil in water until fully cooked. Mash the potatoes and then add to the veggie mixture.
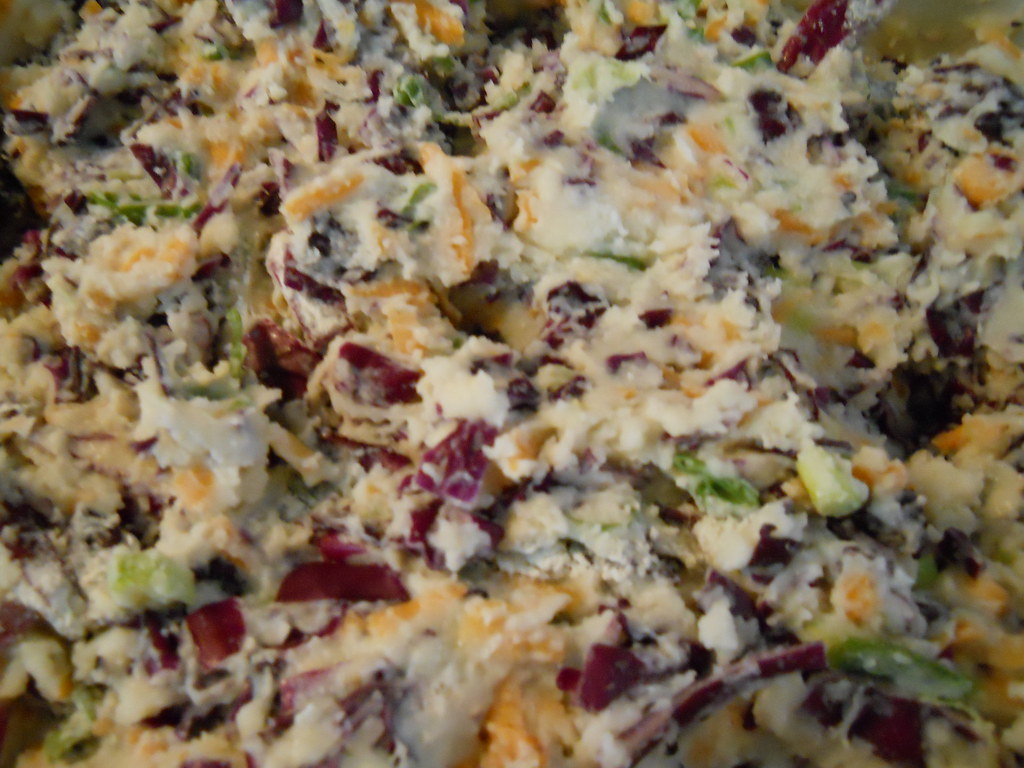
Add 3 eggs, 1/4 cup milk, 1 cup of flour and mix well. You want a sticky mixture, but not too potato-y looking. As if that made sense. If your mixture is too runny, add more flour. If it's too dry, add more milk. If it's too potato-y, add more flour and milk. The right mixture is more of a feeling than anything.


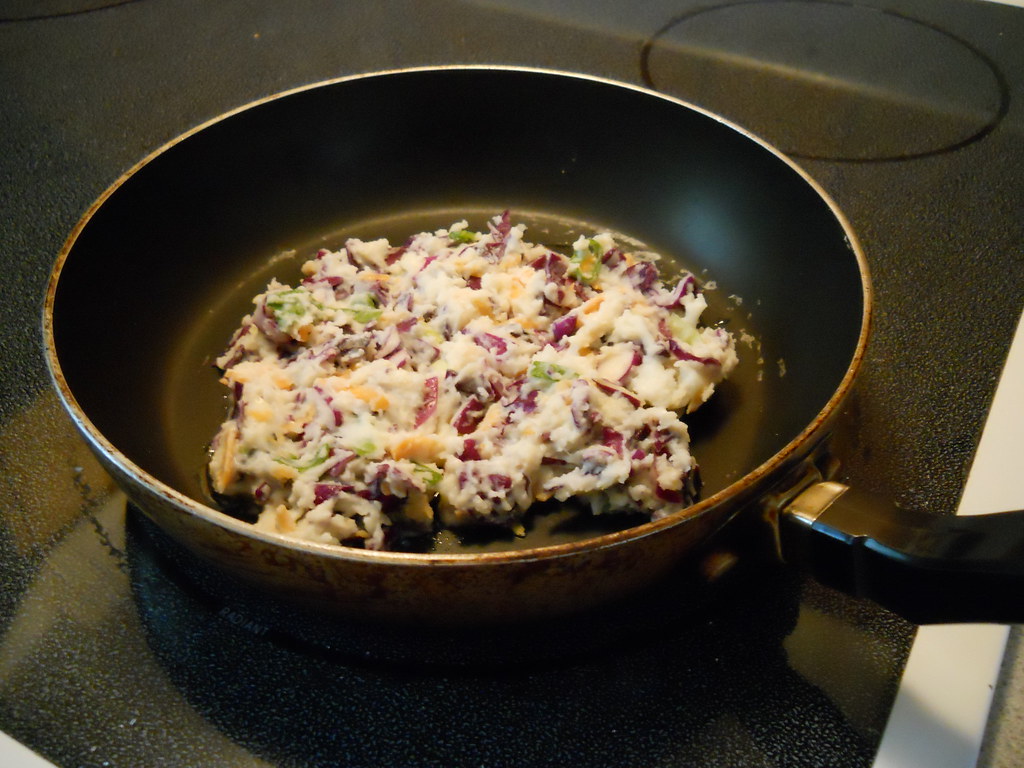
Throw a scoop of okonomiyaki mix into a non-stick pan with about 2 tablespoons of oil. Flatten your scoop out in the pan so it's flat like a pancake. Now wait for it to brown. Oil the top of your spatula so it doesn't stick when you flip it. Now flip it.


Cook until the second side is brown, and ta da! Pretty, yummy, crispy okonomiyaki! Most people can only eat two, so if you have extra mix, cover it and stick it in the fridge. Just remember to check the tansy before frying the next batch. You'll probably need to add some flour.


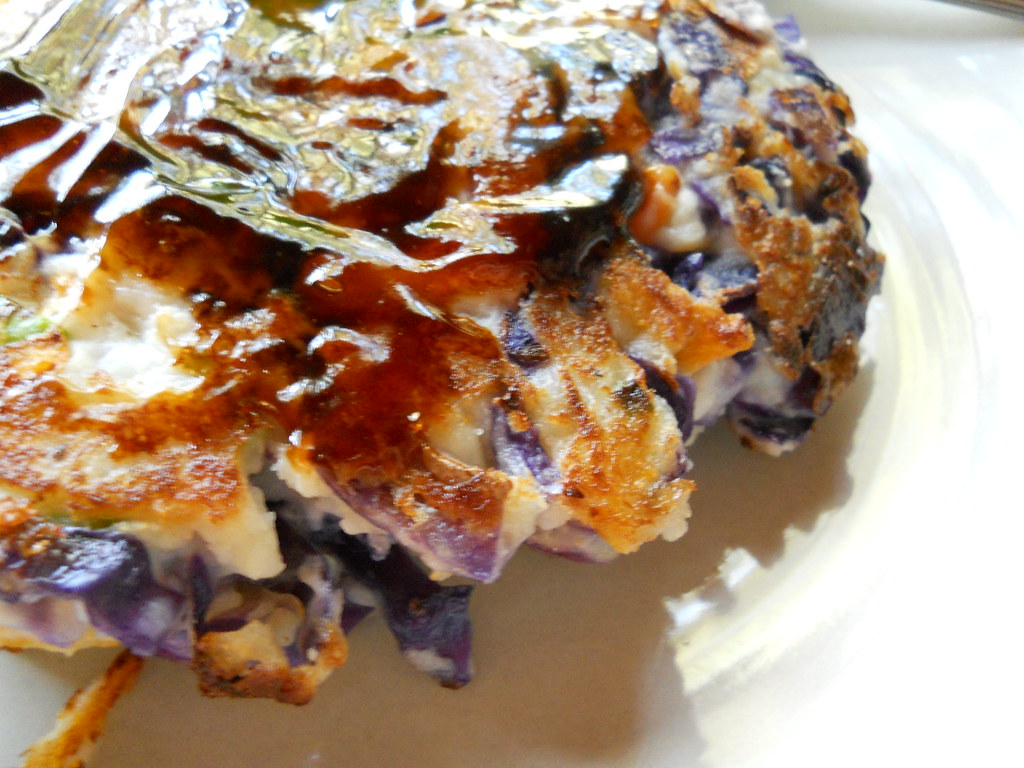
Now... I don't think okonomiyaki sauce is sold in America, but if you happen to find some... You're awesome. If you are like me and are waiting for the day you get to taste the real stuff, I'm told oyster sauce is close. Close. Slather 'em up and enjoy!


:: Ingredients ::
1/2 head cabbage
3 carrots
1 bunch green onion
3 large potatoes
3 eggs
Milk
Flour
Oil
Oyster sauce